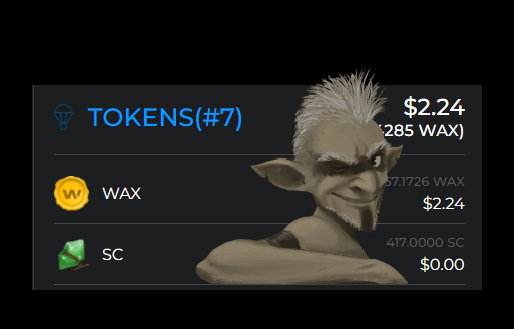
Have you already created your WAX token for a game or for the tokenomic system of your project? Congratulations! But now in the explorers and in the Alcor market, you see a box without an image next to the name of your token.
What happened? How can we fix the FT icon we have created?
Don’t worry because this has an easy fix. Of course, you will need to wait a few days until the process is concluded.
A visit to eoscafe’s GitHub
Eoscafe is an EOS guild that has deployed a repository on GitHub with the intention of collecting information about the tokens that are created on the EOS blockchain, but also on the WAX blockchain. Among the information that is collected is the icon associated with the token.
Thanks to this data table, many applications have taken it as a reference and will show the icons of the tokens that are listed here. Our goal is to get our token listed here as well.
The first thing we are going to need is to create an account on Github. If you don’t have an account don’t worry, it’s free.
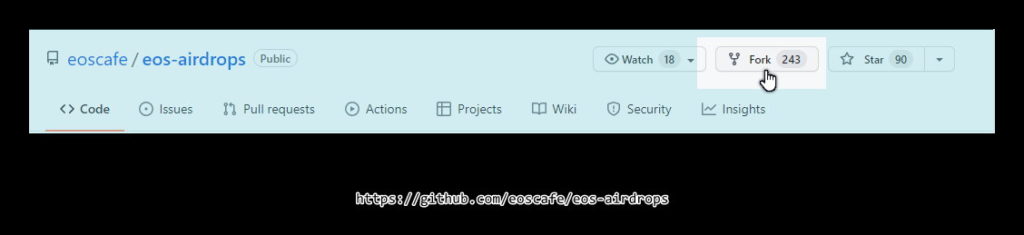
When you have created the account and you are logged in you can go to the eoscafe repository
https://github.com/eoscafe/eos-airdrops
There you will see in the description the steps you have to take to add your token to your listing. However, we are going to carry out the process here.
Clone the repository
The first step will be to clone the repository so that we have a copy of it in our GitHub account. We will make the changes to our repository.
As we can see, this repository has already been duplicated on many occasions.
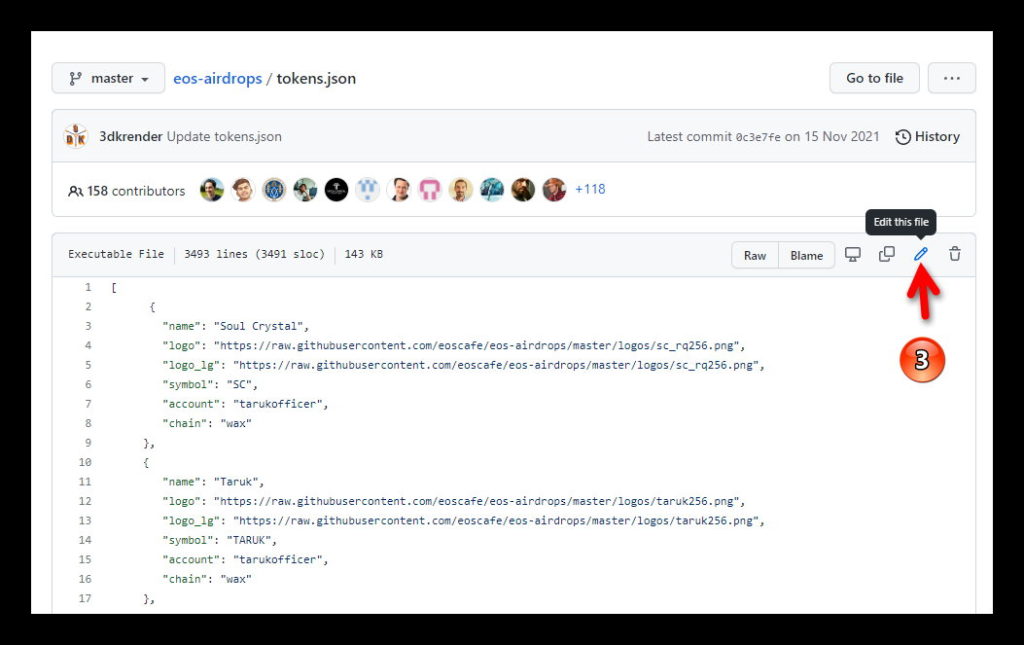
Once cloned, the copy will appear with the name <our_account>/eos-airdrops. In our case, the route will be 3dkrender/eos-airdrops (point 1 of the illustration)
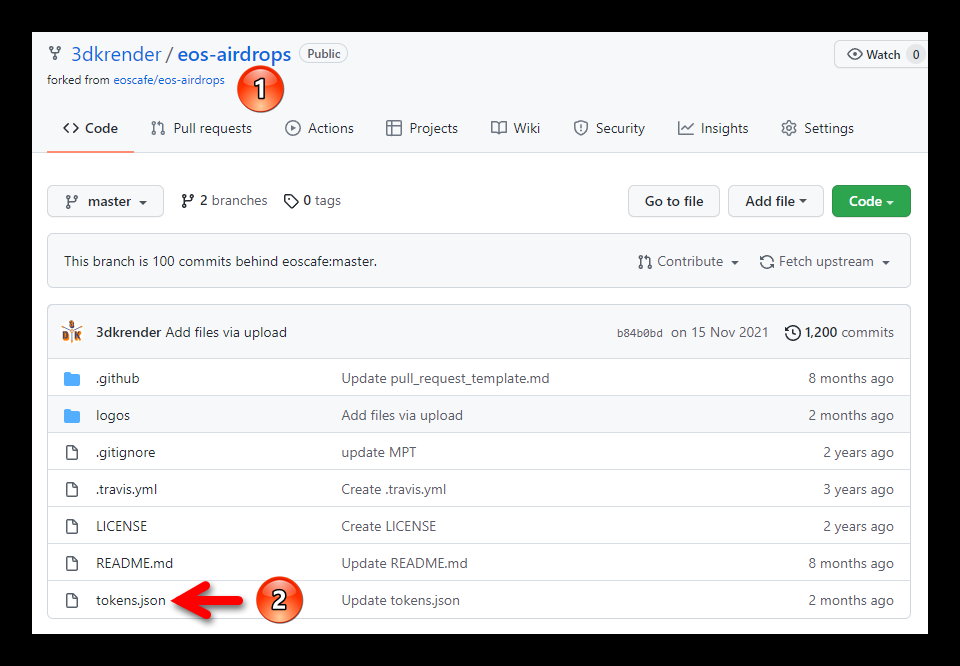
Edit tokens.json
The next step will be to edit the tokens.json file (point 2) by clicking on its name to open it in the viewer and then click on the edit button to be able to modify the contents of the file (point 3)
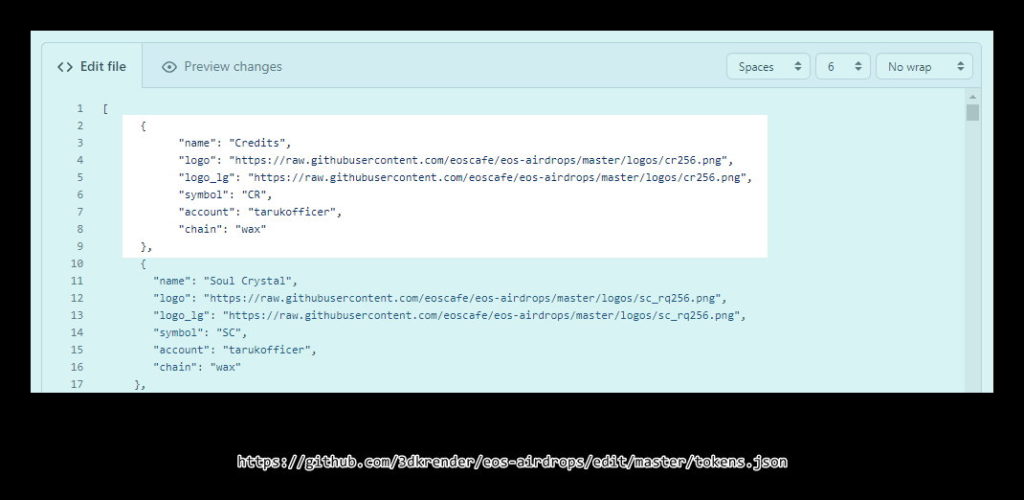
I will take the opportunity to add to the list of tokens our Fungible Token “Credits” (CR) from our game Rada Quest. To do this, you must add a JSON object with the following information:
{
  "name": "Credits",
  "logo": "https://raw.githubusercontent.com/eoscafe/eos-airdrops/master/logos/cr256.png",
  "logo_lg": "https://raw.githubusercontent.com/eoscafe/eos-airdrops/master/logos/cr256.png",
  "symbol": "CR",
  "account": "tarukofficer",
"chain": "wax"
}
- Name: Descriptive name of the token.
- Logo: name of the png file with the icon of our token. We must respect the full path and change only the name of the file. The recommended resolution is between 128 and 250 (square). In my case “cr256.png”
- Logo_lg: Name of the png file in higher resolution format with the token icon. It can be the same one we used before.
- Symbol: the abbreviation used by the token in listings.
- Account: Name of the smart contract that manages the token and from where it was created.
- Chain: Blockchain where the token is.
This would be the result. Look carefully at not forgetting a comma!
At the bottom of the page, we will find the option to save the changes. We can give you a name and a description if we want. When we click on the “Commit changes” button (Point 4) the information of our token will be recorded
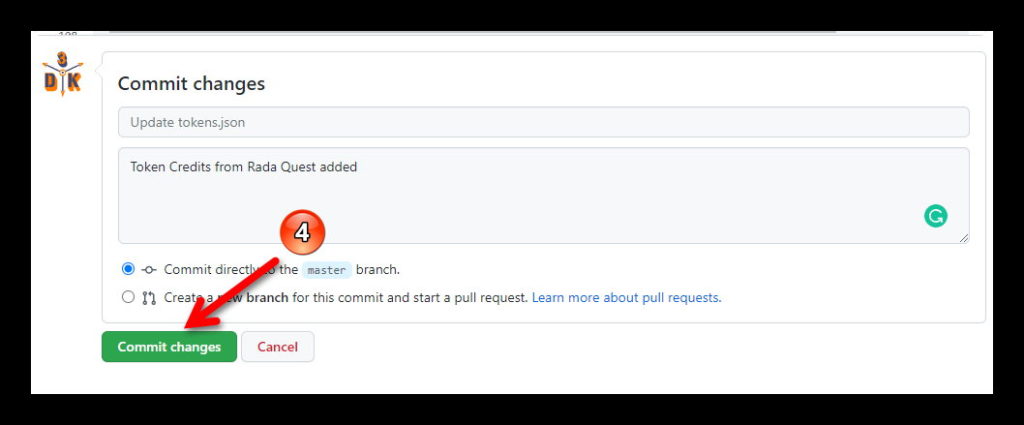
But remember that we are working on our repository. We’re not done yet.
Add images
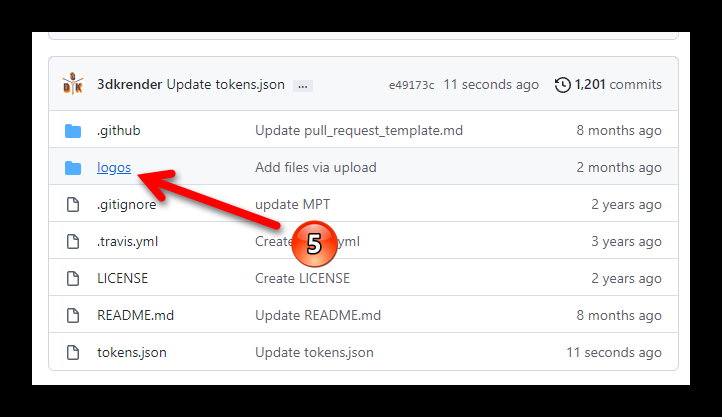
The next step will be to add the images that we will put as icons. To do this we will return to the root of the project (we click above, in the path, on “eos-airdrops”) and then click on the “logos” folder to enter it (Point 5)
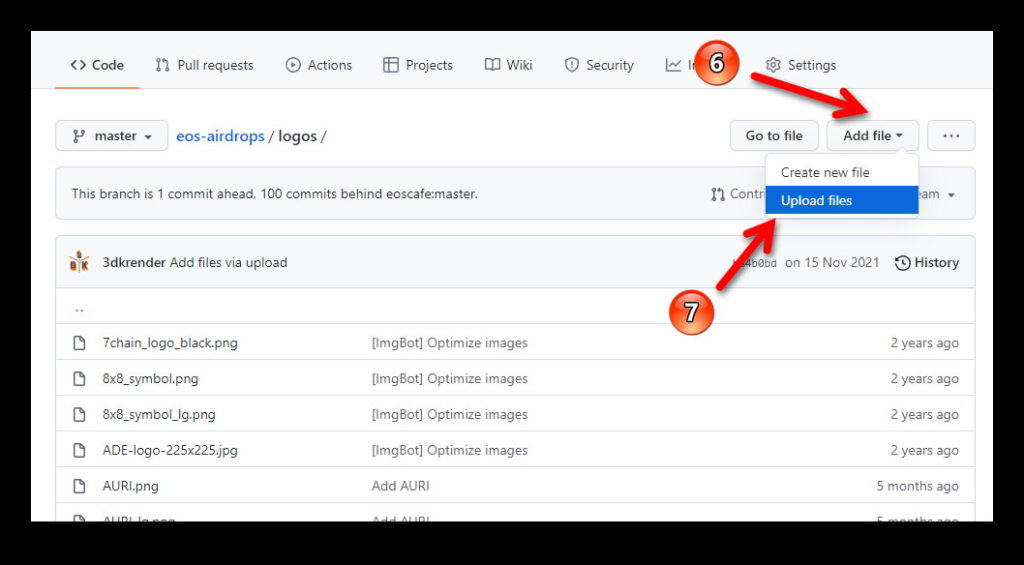
And once there we click on “Add file” and “Upload files” (Steps 6 and 7)
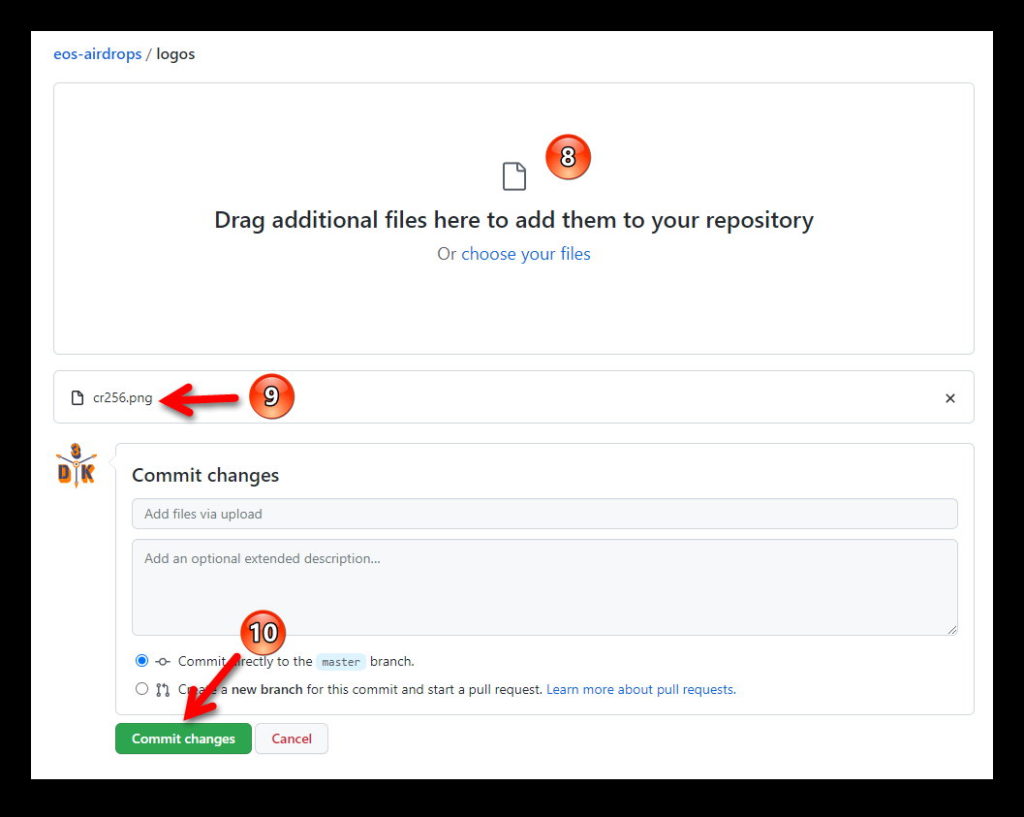
We drag the png file (or files) over zone 8, check that they have been loaded (Point 9) and click on “Commit changes” to save them in the repository (Point 10)
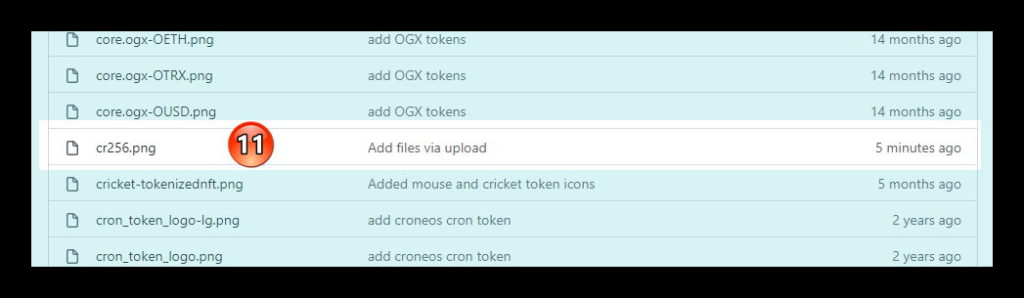
We can already check that our icon is in the list of icons. Beware, they are ordered alphabetically (Point 11)
We’re almost done…
Merge with the master repository
Everything we’ve done is in our repository copy. We need all this information to be in the master repository but since that repository is not ours, we cannot edit it. To be able to edit the content, copies (forks) of the repositories are made and for the information to appear in the main repository we must ask the owners to include our changes. We will perform this step through a contribution request.
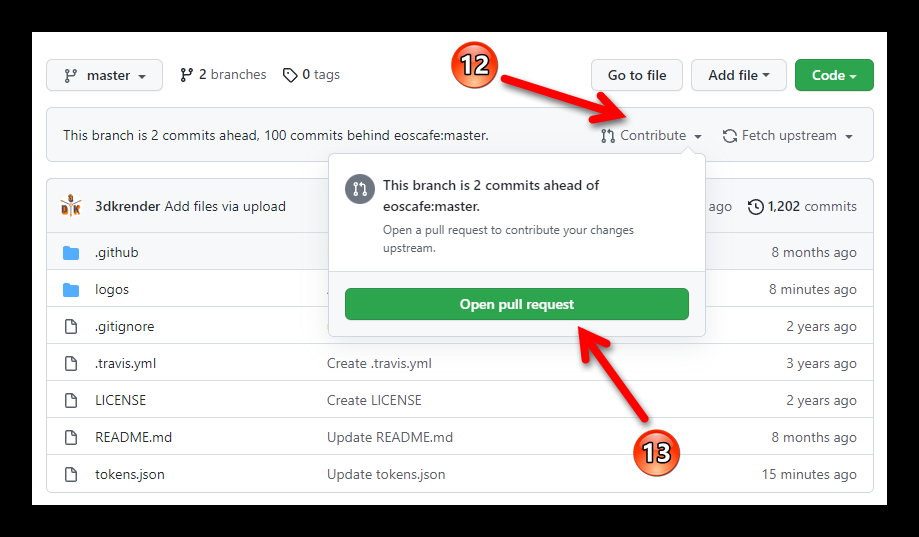
We must return to the path of our repository and from there we click on “Contribute” (Point 12) and then on “Open pull request” (Point 13)
Now we will see a window with a summary of the changes that we request to add to the master repository
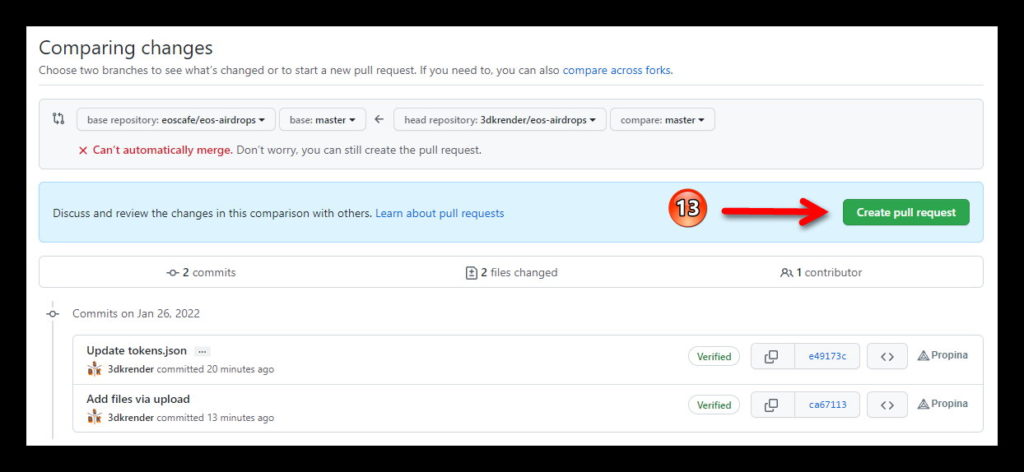
Don’t worry about the red warning saying “Can’t automatically merge“. As we are not the owners of the “parent” repository it is logical that we cannot make a mixture of both codes automatically; we have to ask permission.
We will click on “Create pull request” (Point 13) to ask the owners of the “parent” repository to verify our contribution and, if they so choose, incorporate it into the general list.
Now I do recommend writing a title to our application (Step 14) before clicking the button to submit it (Step 15)
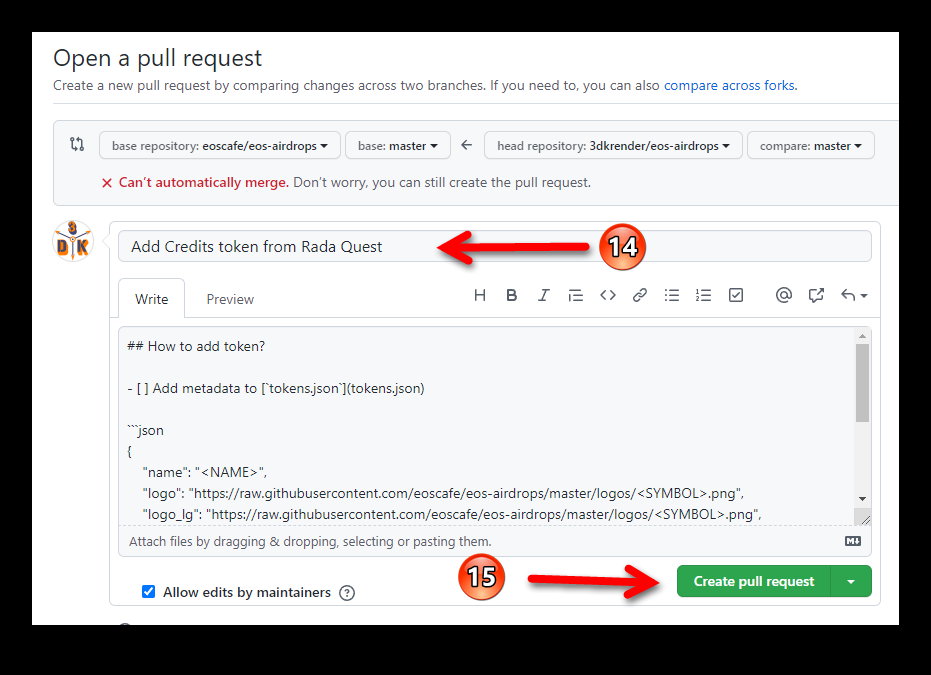
And we’re done!
A window appears warning that there is a conflict that prevents us from doing the merge but we should not worry. What it tells us is that only those with written permission (the owners) can authorize it.
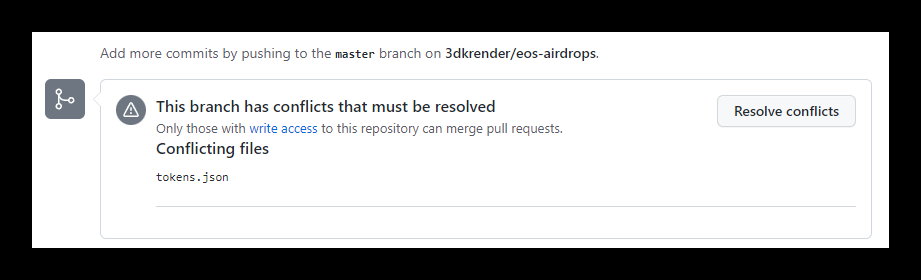
We just have to wait for the eoscafe team to review and approve it. This may take several days. Patience! If everything goes well we can see our token with a nice icon in the listings